User Tutorial
The following step-by-step guide will show you how you can add your first components and create a flow with these components via the web ui which you deployed already. All actions are also performable via postman or similar tools.
Creating Components
First, we have to create two components in order to have a source and target component.
Below you will find a code snippets for an exemplary component. For the beginning we recommend to use this one, but feel free to use your own.
Example:
{
  "distribution": {
    "type": "docker",
    "image": "openintegrationhub/code-component:latest"
  },
  "access": "public",
  "name": "Node.js code",
  "description": "Node.js code component that executes the provided code"
}
The code component is a powerful tool that can run any node.js code provided through the flow definition. It is a quick and easy way to generate, manipulate, and output data, especially for testing and debugging purposes.
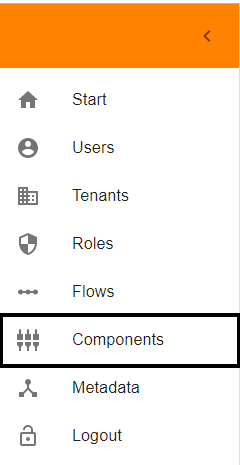
In order to add this component, visit the web ui (web-ui.example.com) and navigate to the Components section.
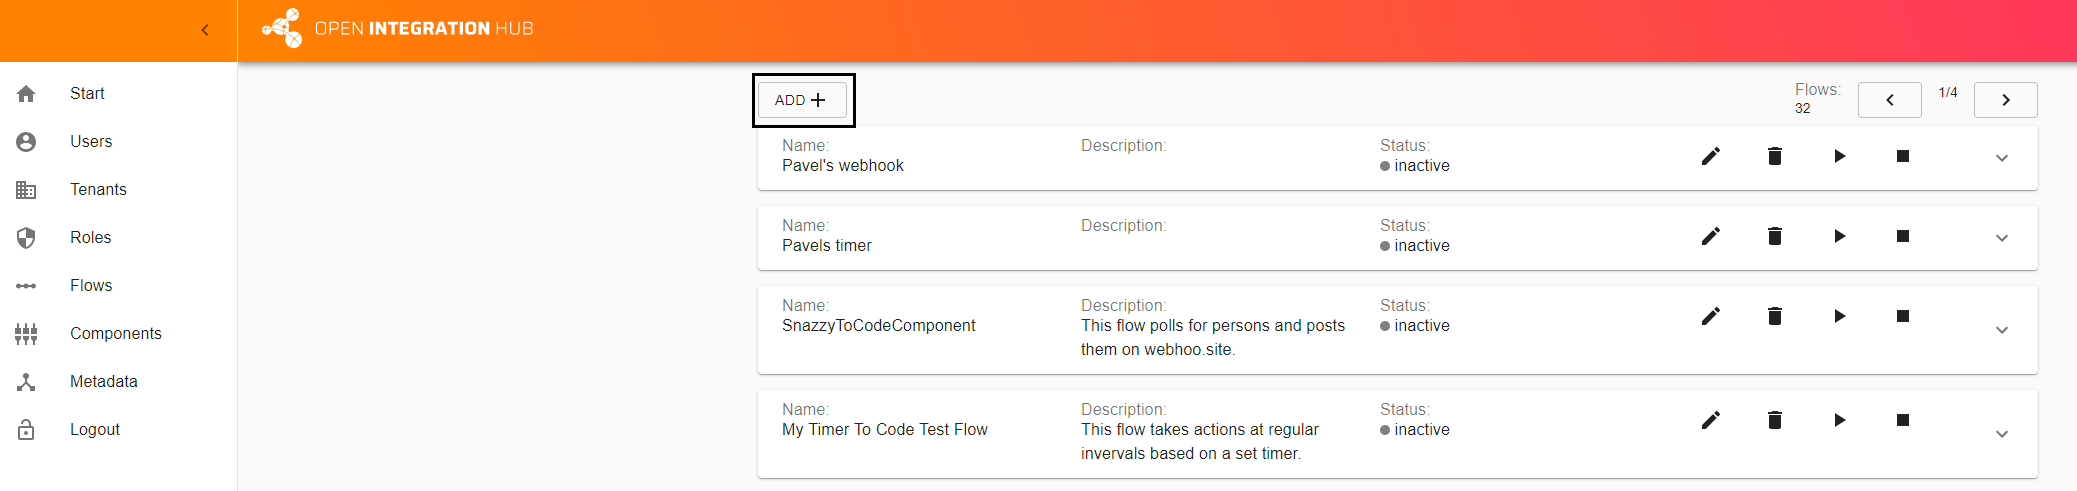
Now click on the ADD+ button. A popup window will appear where you can add the code provided above.


GREAT! You created your first component.
!! In order to create the flow in the next step you have to copy the id of the component you just created. !!
Creating Flows
Now that you successfully created two components it is time to create your first flow.
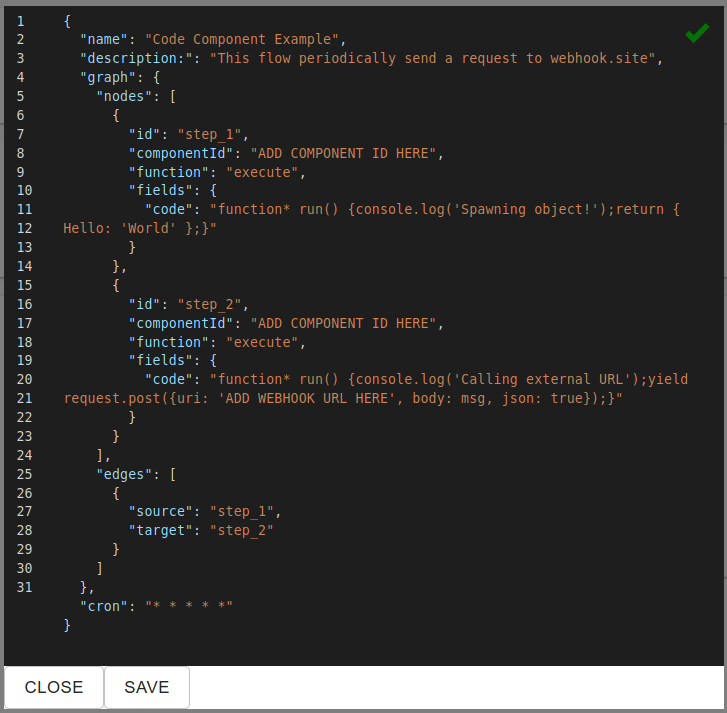
Below you will find code snippets for an example flow. The first step spawns a simple object and hands it over to the second (the code component automatically hands over whichever object is returned by the passed function). The second step then POSTs that object to an external URI. For the beginning we recommend to use this flow but feel free to create your own.
Please replace the ADD COMPONENT ID HERE with the id you copied in the previous step. Furthermore please go to and copy the link to you clipboard. Afterwards please replace the ADD WEBHOOK URL HERE with the link in your clipboard.
{
  "name": "Code Component Example",
  "description:": "This flow periodically send a request to webhook.site",
  "graph": {
    "nodes": [
      {
        "id": "step_1",
        "componentId": "ADD COMPONENT ID HERE",
        "function": "execute",
        "fields": {
          "code": "function* run() {console.log('Spawning object!');return { Hello: 'World' };}"
        }
      },
      {
        "id": "step_2",
        "componentId": "ADD COMPONENT ID HERE",
        "function": "execute",
        "fields": {
          "code": "function* run() {console.log('Calling external URL');yield request.post({uri: 'ADD WEBHOOK URL HERE', body: msg, json: true});}"
        }
      }
    ],
    "edges": [
      {
        "source": "step_1",
        "target": "step_2"
      }
    ]
  },
  "cron": "* * * * *"
}
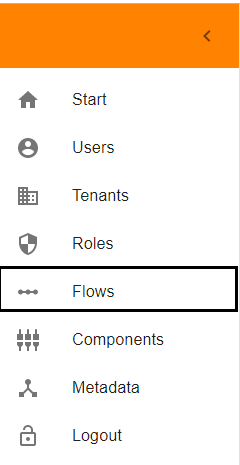
In order to add the flow, navigate to the Flows section.
Now click on the ADD+ button. A popup window will appear where you can add the code provided above.
GREAT! You created your first flow.
Starting Flows
Now that you have created a components and a flow, it is time to start this flow.
Stay in the flows section and look for the flow you just created. On the right side you will the a “play” symbol.
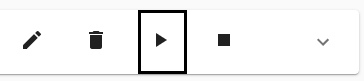
Click on it and the how the status changes from inactive to starting.


After some time the status changes to active and the flow is running (you may have to refresh the site).

Lessons Learned
In this tutorial you have learned…
- How to create components via the web ui
- How to create a flow within the Open Integration Hub using existing components
- How to start a flow and track its status